
I love a good granola bar, but recently I've rather fallen for quinoa. It's a great source of soluable fibre and protein, both of which contribute to keeping you feeling full, which, when you're trying to lose weight, is invaluable since you're less likely to snack on bad things, and it also contains a lot more minerals and antioxidants than other grains or similar foods, making it a brilliant superfood.
I've also fallen in love with Baobab which I've talked about before, and even baked with already, and I wanted to take it a little further.
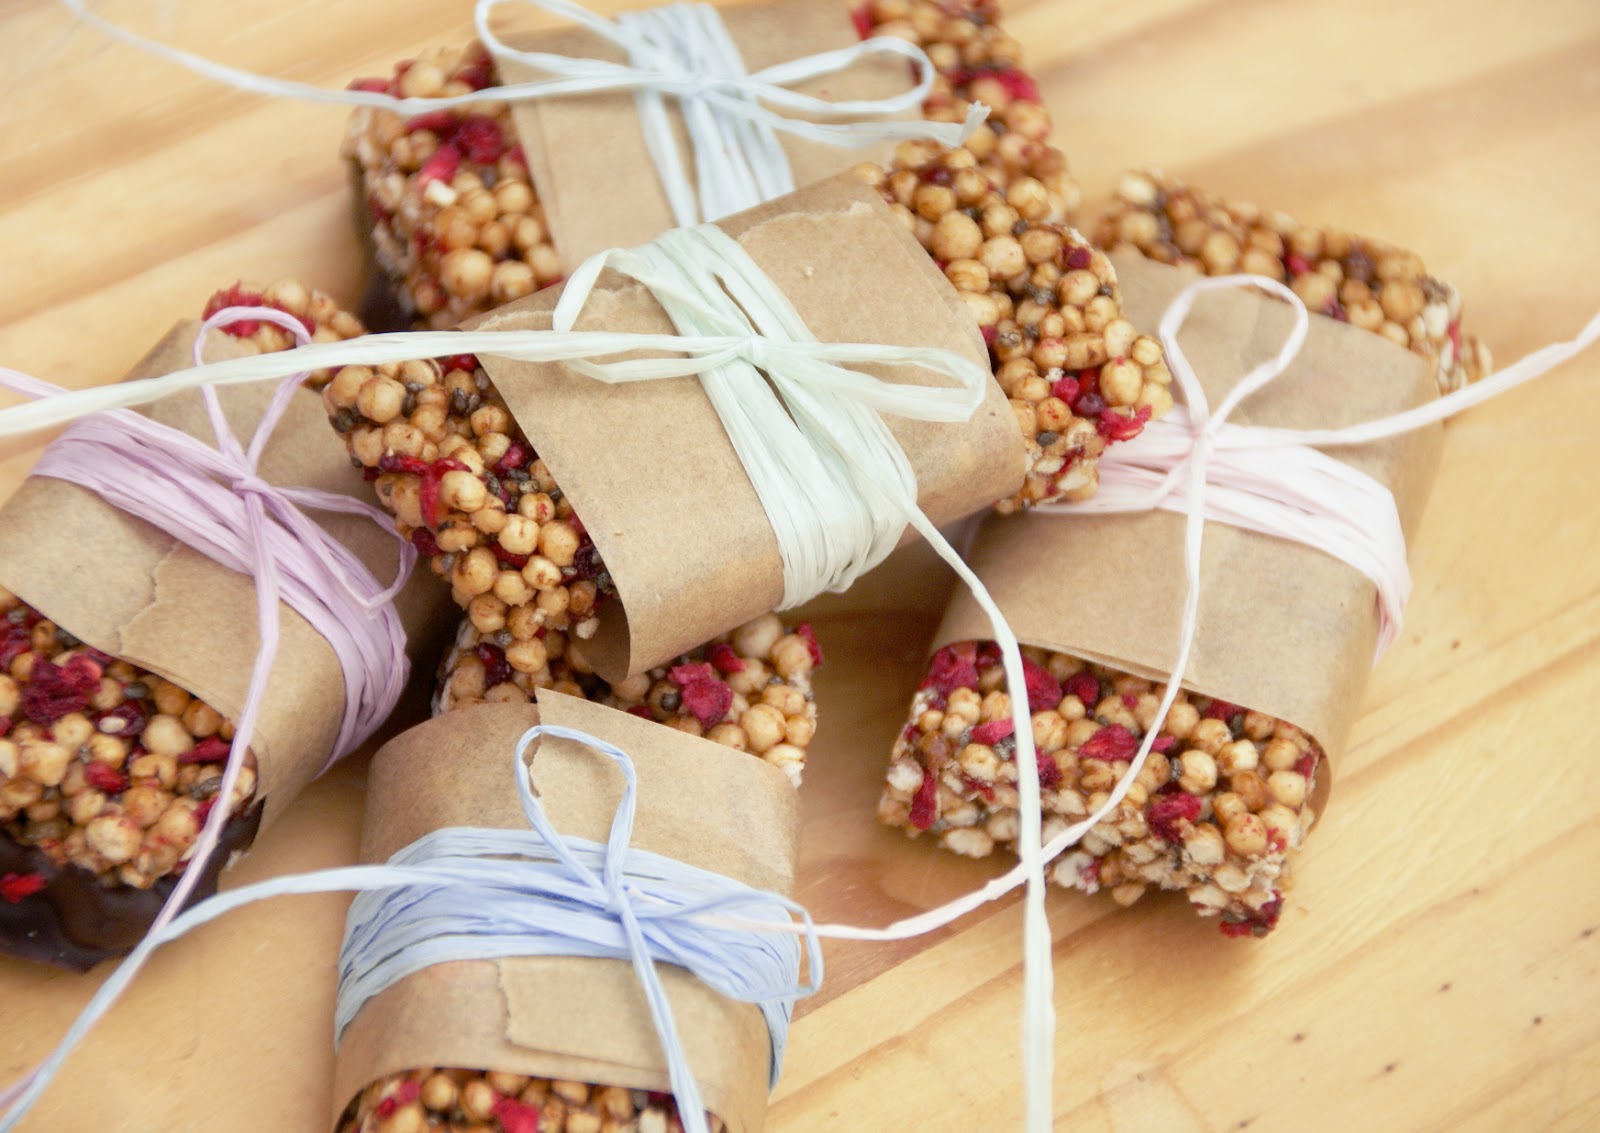
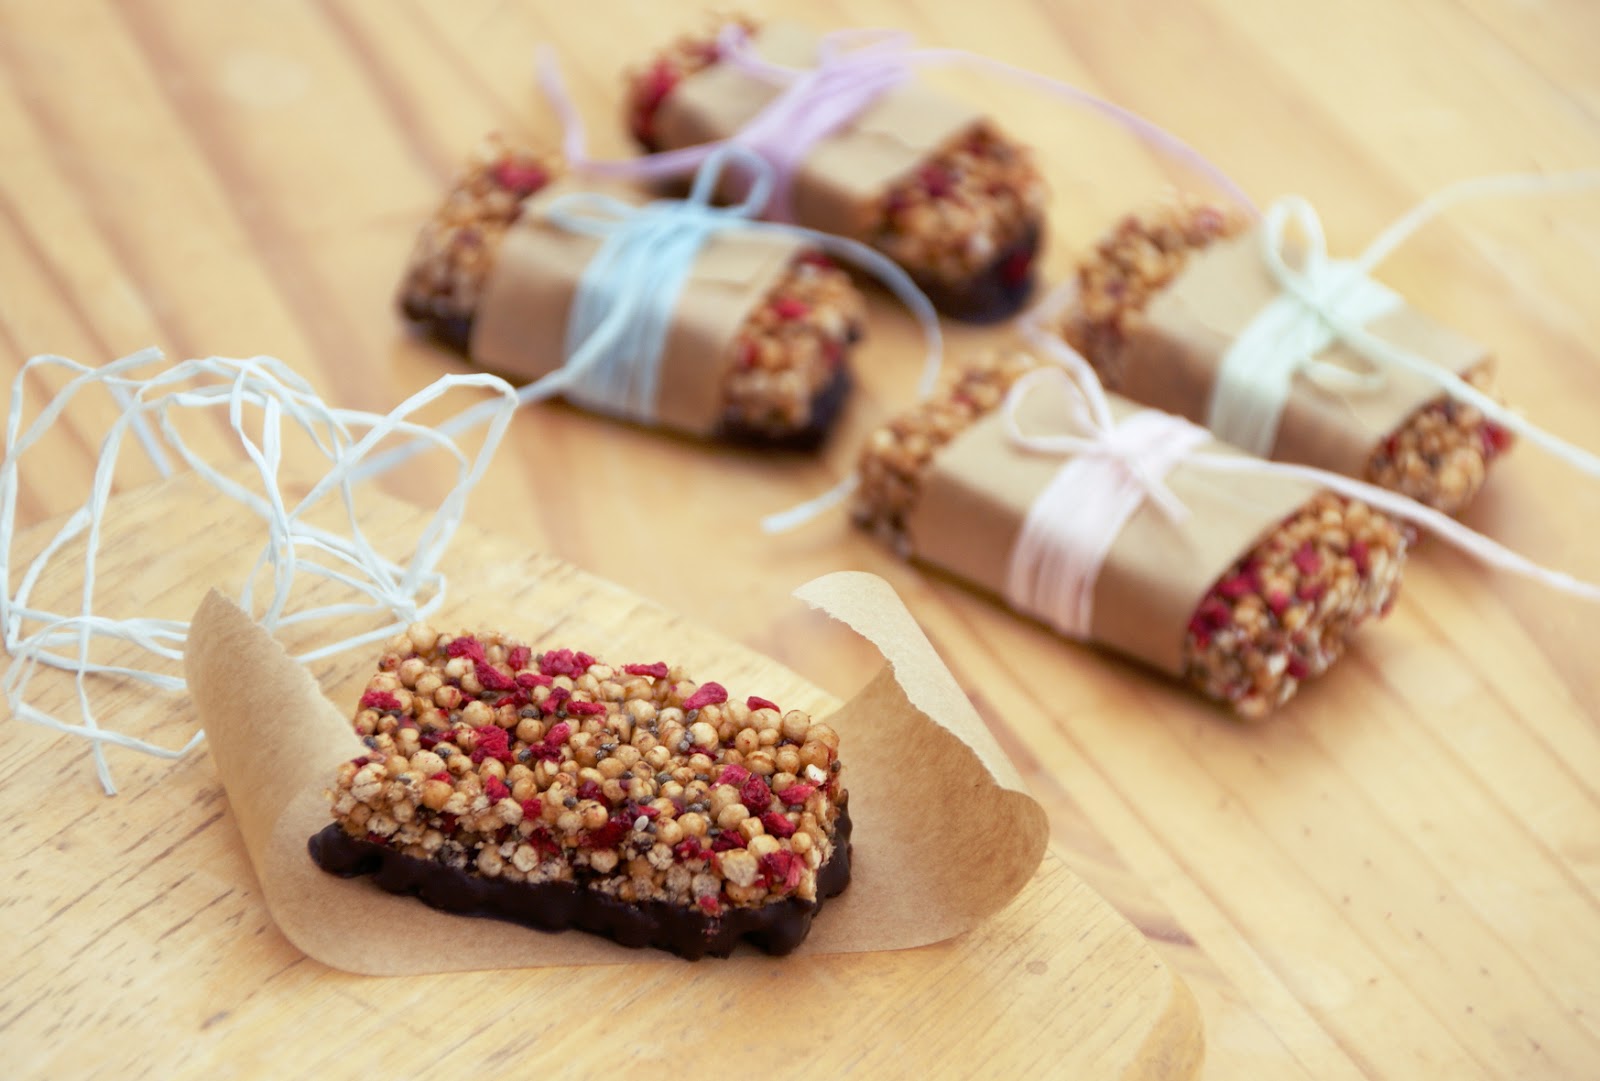
I love granola bars and flapjacks, and since I already had quinoa, I decided I would make some quinoa bars in the same kind of style. Baobab was quickly the second ingredient, and the chia seeds found themselves in the mix, then raspberries and dark chocolate, ultimately creating an amazingly nutritious superfood snack bar that will keep you feeling full even on a single piece. Think of it as lembas bread.
I only encountered a problem when considering a binder. I didn't really feel the need to add anything sweet because the baobab would do that job well enough, but I couldn't really find an alternative. Fortunately, the baobab wasn't masked very much by it, so that was a great relief!
They came out crunchy, sweet and fruity, and they didn't fall apart! I'm also going to admit that this was also my very first attempt at anything like this, so I'm so surprised it worked out! Most people encounter trouble with binders but I got on just fine!
Ingredients:
1 1/2 cups quinoa
10g baobab (I used Aduna's)
4 teaspoons chia seeds
1/2 cup raspberry crumbs
1/8 cups brown sugar
1/8 butter
3 teaspoons honey
dark chocolate
Method:
1. Line/lightly grease a 20cm tin to set the bars in.
2. Toast the quinoa for 10 minutes at gas mark 4/180 C/350 F.
3. Melt the butter, brown sugar and honey until sugar has dissolved to create the binder.
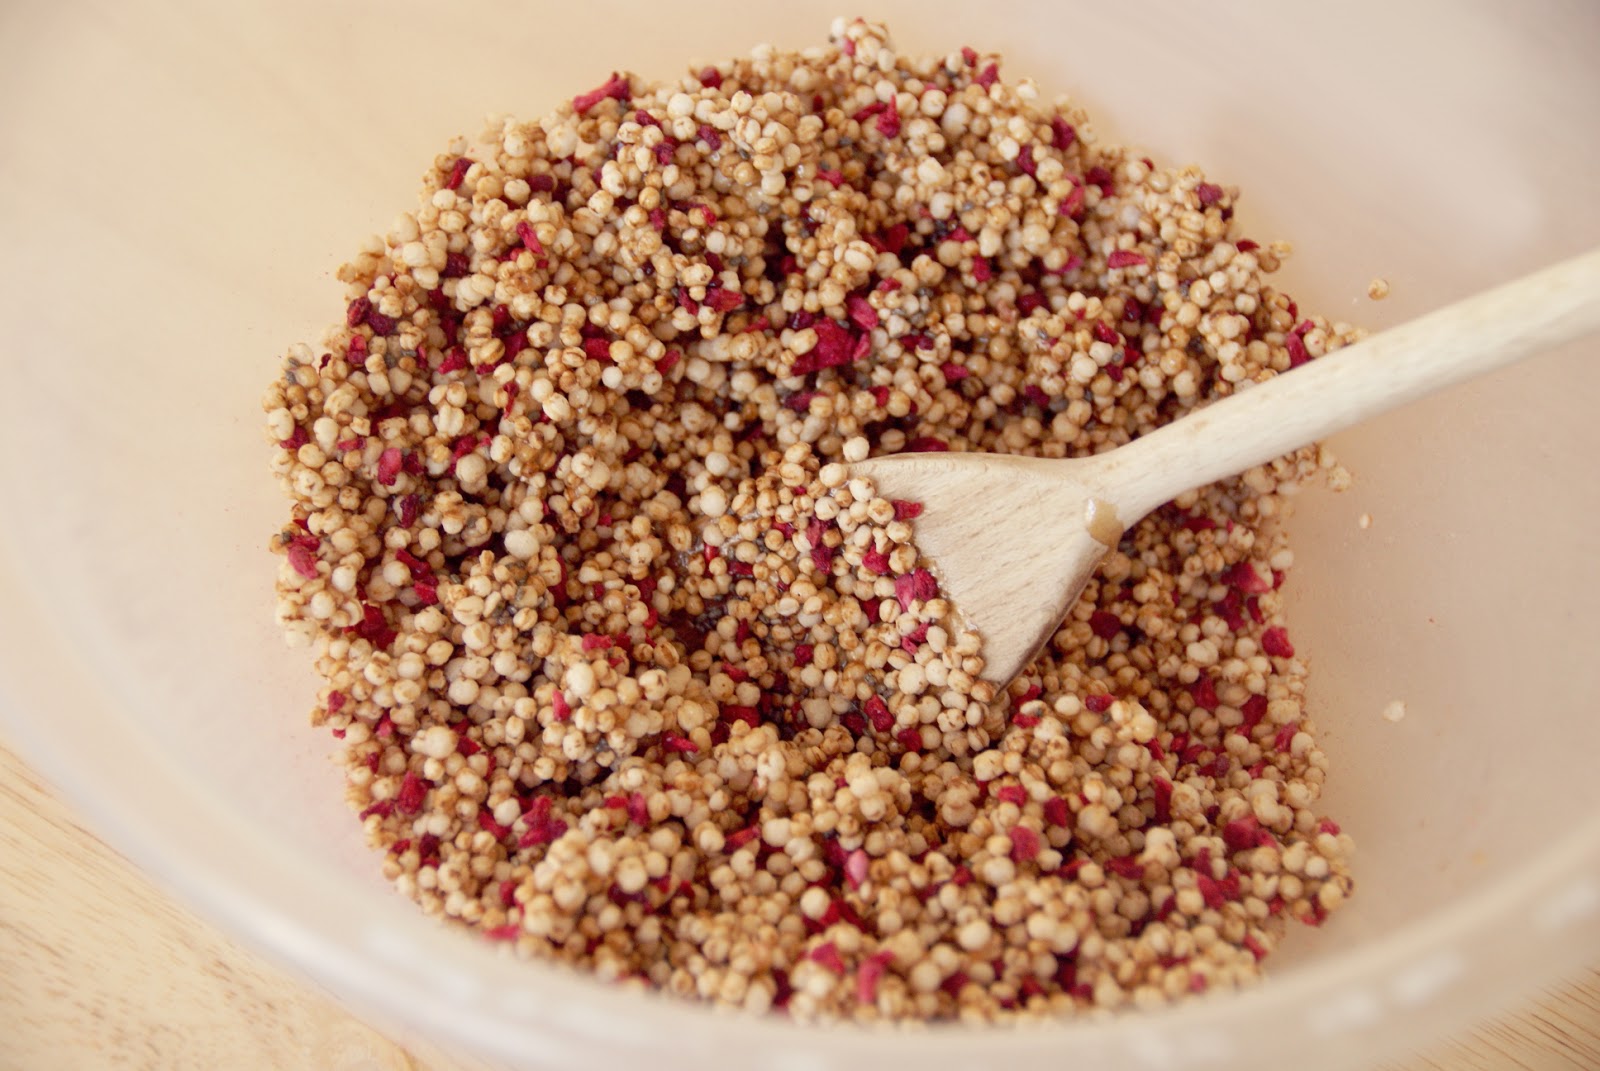
4. Combine the toasted quinoa, raspberries, chia seeds and baobab pulp in a bowl, then mix in the hot honey mixture and stir together until well combined.
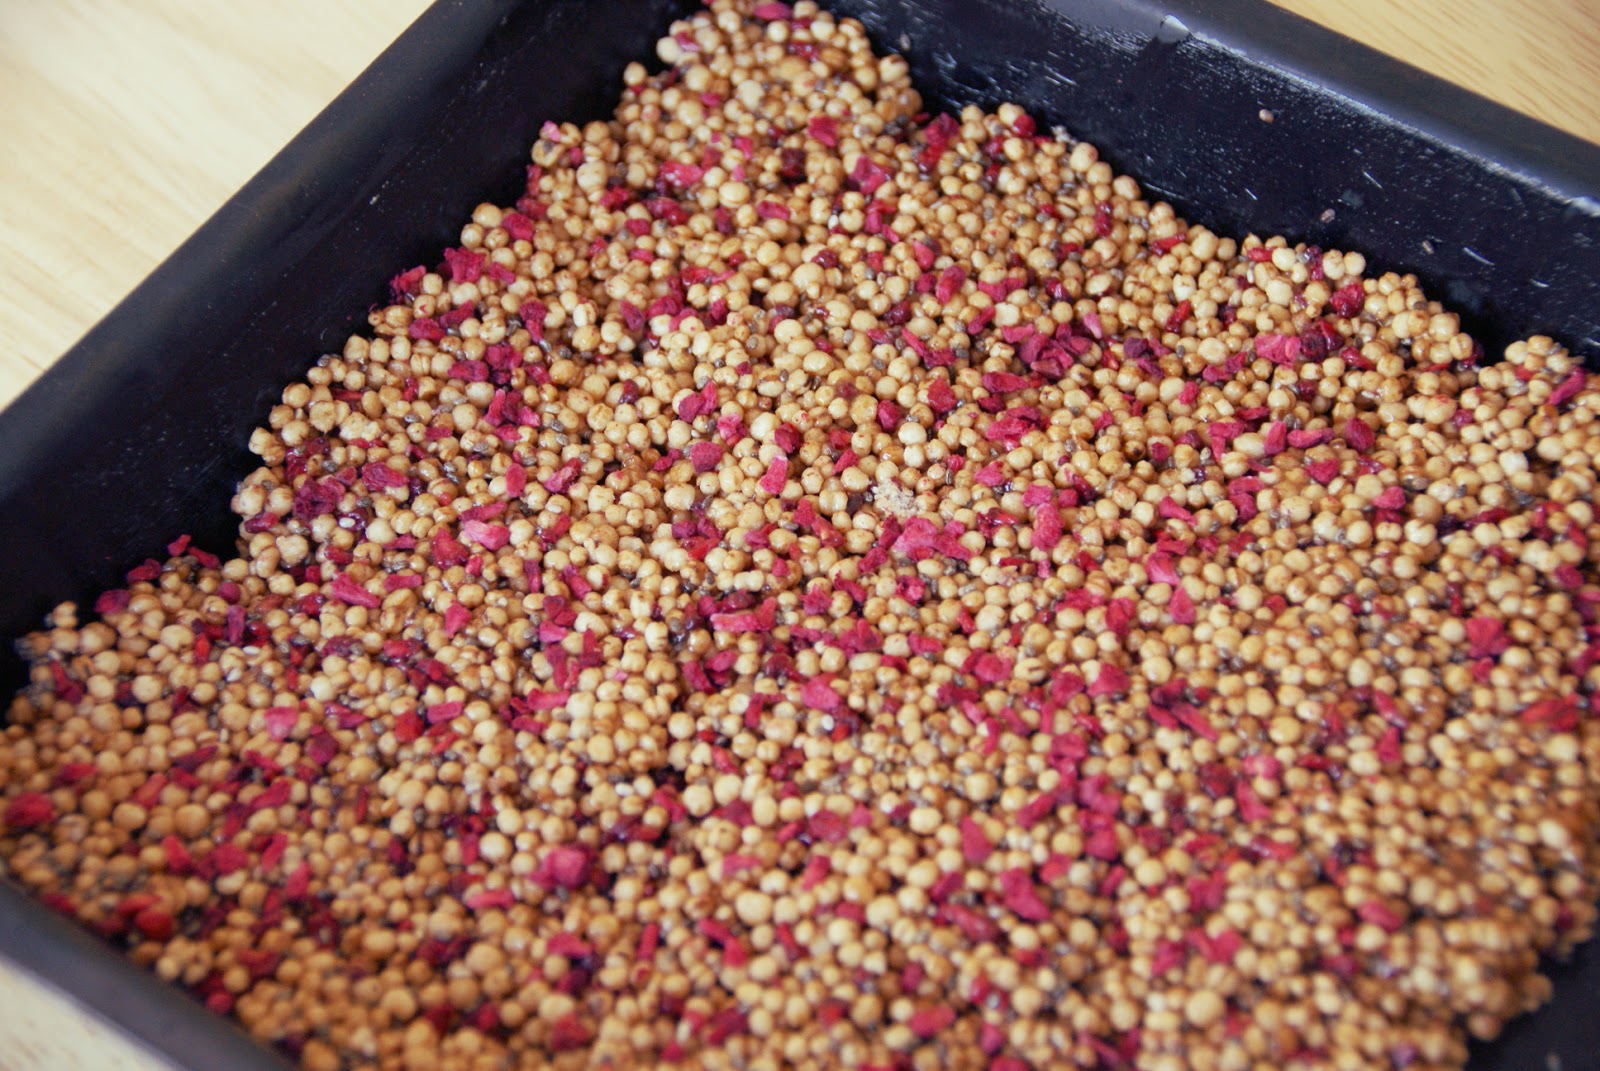
5. Transfer the mixture to the lined/greased tin and press the mixture in firmly. I found it best to use a silicone spatula that had been dipped in water - the flat spatula gives good coverage and the water kept the mixture from sticking to the spatula and pulling back out.
6. Set in the fridge to chill for 30 minutes, letting the binder harden.
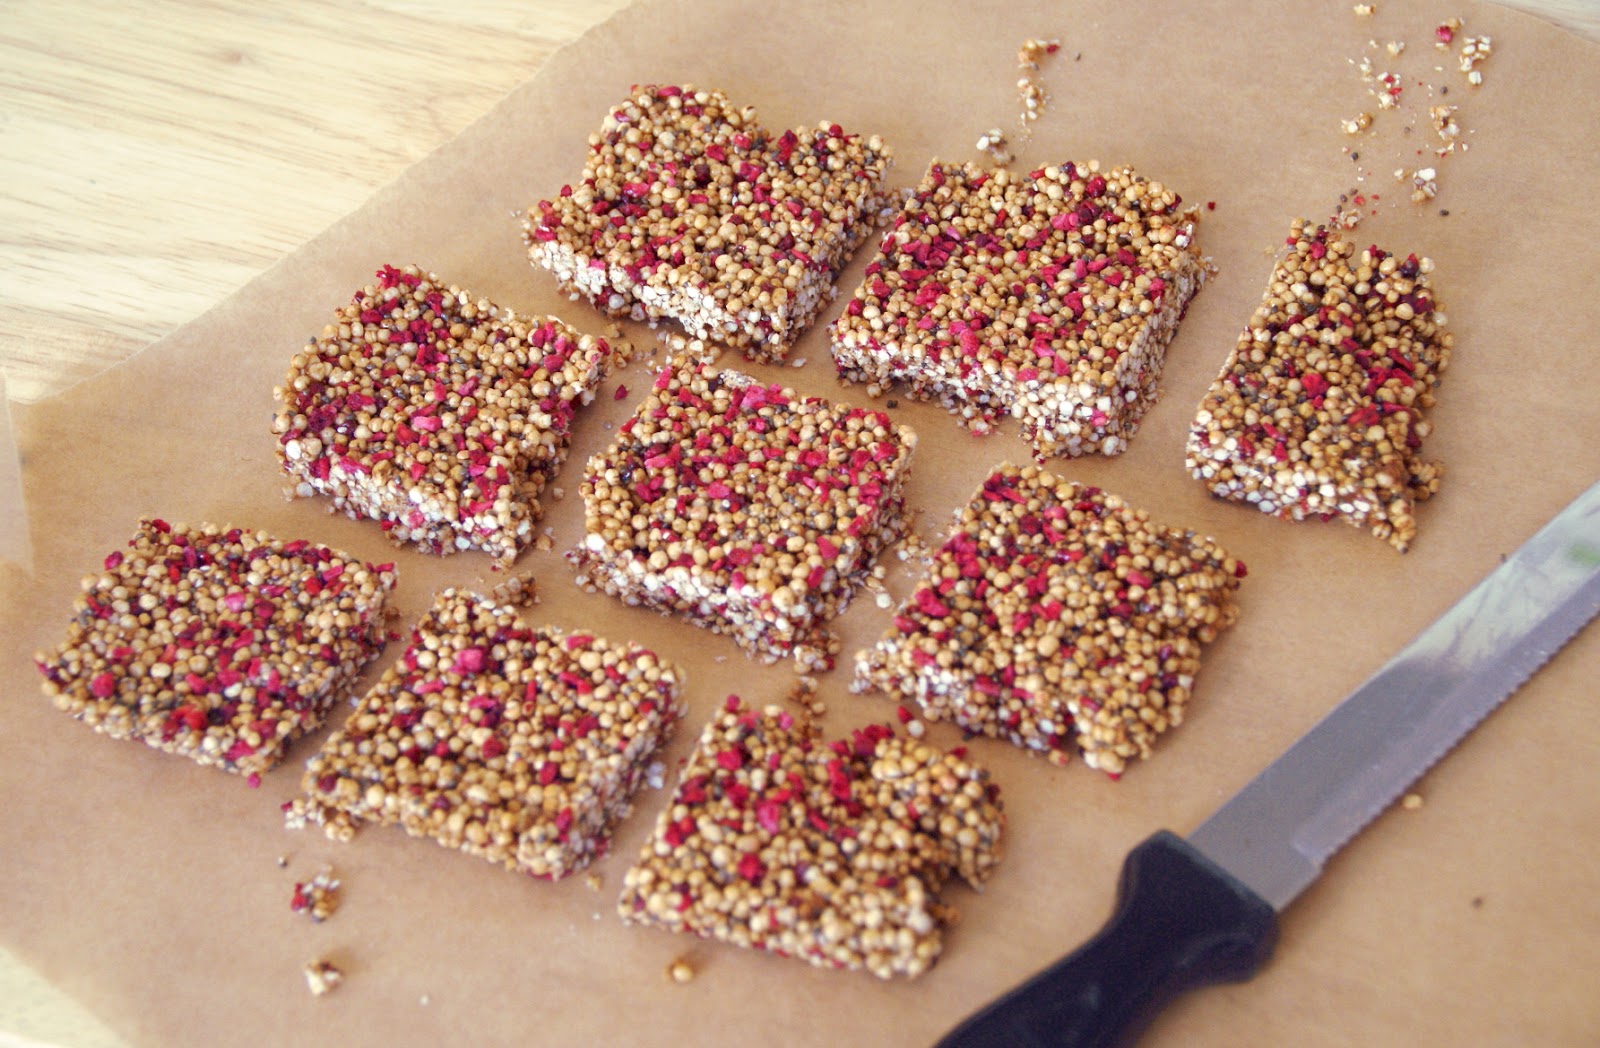
7. Remove the slab from the tin and cut them carefully into your preferred sizes. They're likely to be quite hard so take care.
8. Set a heat-proof bowl over a pot of water boiling on the stove. Break up the dark chocolate and melt it in the bowl, stirring the whole time. Take your bars one at a time and dip them in the chocolate. You could coat the bottom, coat a full half the bar or coat the whole thing, it's entirely up to you. Some of the chocolate ended up in my mouth so I could only coat the bottoms.

0 comments:
Post a Comment
I do read every single comment, and I will try to respond where I can. If you have an important question about my blog or my shop, however, then you might be better off contacting me directly by email. Thanks so much for reading my blog!